
Inside an Everyday Carry (EDC) Photographer’s Process
Great product photography might look simple, but it’s far from easy. A stellar shot requires thoughtful lighting, a strong composition, and a clear concept. That's why we are fans of Will Sauer's Instagram feed @EverlastingEmber. His photos always make his favorite EDC gear shine. We asked Will to take a shot at capturing our bestselling outdoor multi-tool, the Signal®.
His photos highlighted our favorite colorways and showcased the Signal's Made to Explore spirit. We were so impressed, we asked for a behind-the-scenes look at his product photography setup and gear. We are sharing his photos on our social media channels as well as the front of leatherman.com this month. Check it out. And of course, be sure to follow him on Instagram @EverlastingEmber.

QUICK INTRO
Name: Will Sauer
Family Life: Husband and father with 2 kids
Day Job: Corporate Communications in the manufacturing industry
Hobbies: EDC gear, photography, running
Background in Photography:
- When the COVID-19 lockdowns started, I found myself with extra free time and decided to combine my hobbies of photography and EDC.
- I started an Instagram account (@EverlastingEmber) and made my first post in March 2020.
- Since then, I’ve spent 3+ years learning the ins and outs of product photography, and I’ve been fortunate enough to have had the opportunity to work with some incredible people and brands in the EDC community.
The Scene:
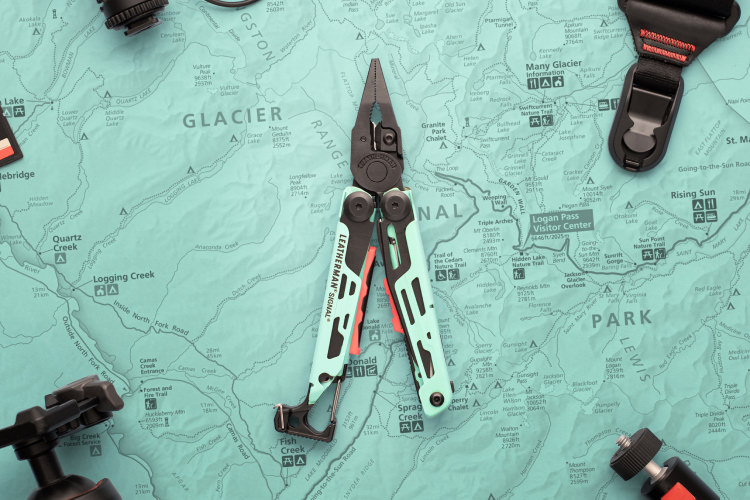
- My vision for shooting the Leatherman Signal multi-tools involves associating each tool colorway with a different U.S. National Park and a popular park activity.
- As an appreciator of the outdoors, travel, and the National Park System, this is a concept that excites me, and I hope it resonates with others.

Product Photography Setup
The Gear
- I took the shots on my Nikon D750 DSLR camera, attached to my Vanguard Alta Pro tripod, using a 50mm f/1.4 lens. The 50mm f/1.4 is my most used lens, as it provides incredible versatility and excels in low light environments.
- I prefer tripod shooting, as opposed to handheld shooting, because it allows me to make fine adjustments to my compositions and maintain a consistent distance and angle across all my shots for a photo series.
- Since I want to achieve bright, evenly lit images with soft light, I lit the scene using my Godox P190L Parabolic Softbox attached to a Godox FV200 Continuous Light LED and put the light source close to my set.

The Shot
- Once I’m ready to shoot, I turn off all the lights in the room and use the softbox as my sole light source. This eliminates the possibility of unwanted, inconsistent light bleeding into the shots.
- Next, I set up a tripod stand holding a piece of white foam core board on the opposite side from my light source. This bright white surface will bounce light back into my scene and help illuminate any remaining dark areas.
- I then compose my photos with the product in the center of the frame and props surrounding it. This step can be time-consuming, as I experiment with the layout to achieve a balanced and optimal appearance.
- With the lens facing straight downward and the camera set to manual mode, I set my aperture to f/10 and my ISO to 100 to achieve a sharp image with everything in clear focus. Following several test shots, I dial in my shutter speed at 1/80.
- With everything now set and ready to go, I snap my photos and move onto the editing process.

Post Processing
The Edit
- My editing process begins with loading the final photos into Adobe Lightroom, where I make basic adjustments to the light, color, geometry, and sharpness of each image. I rarely rely on presets and typically edit my photos from scratch.
- Once I’m satisfied with the Lightroom edit, I export the image to Photoshop for more advanced editing.
- The most significant Photoshop task of this project is adding colors and maps to the photo backgrounds. I achieve this by overlaying high-resolution maps and using vector masks to separate the subjects from the background.
- Next, with the map in place, I use a color overlay and the eye dropper tool to colorize the map to match the primary colors of the Signal multitools.
- To finalize the edit, I make some final color modification and clean up each photo using the spot healing brush tool, removing some of the dirt and dust.
- I then export each finalized photo as a high-resolution JPEG file. And that’s a wrap!
RELATED PRODUCTS
-
19Tools
Price reduced from $139.95 to$111.9620% Off Signal


