If you are looking for an affordable and easy DIY to replace your camper countertops, then look no further.
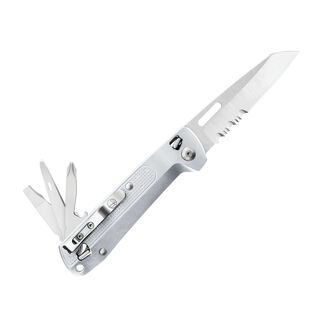
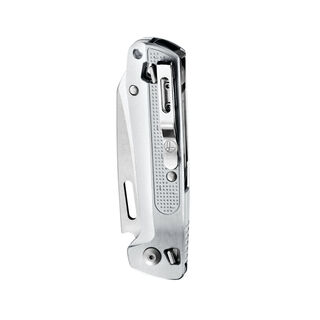
Kayla Lockhart, Fly Fisher and DIYer, will share her step-by-step process of replacing the dated countertop in her 1980s Lance Truck bed camper using a Skeletool® and FREE® K2X.
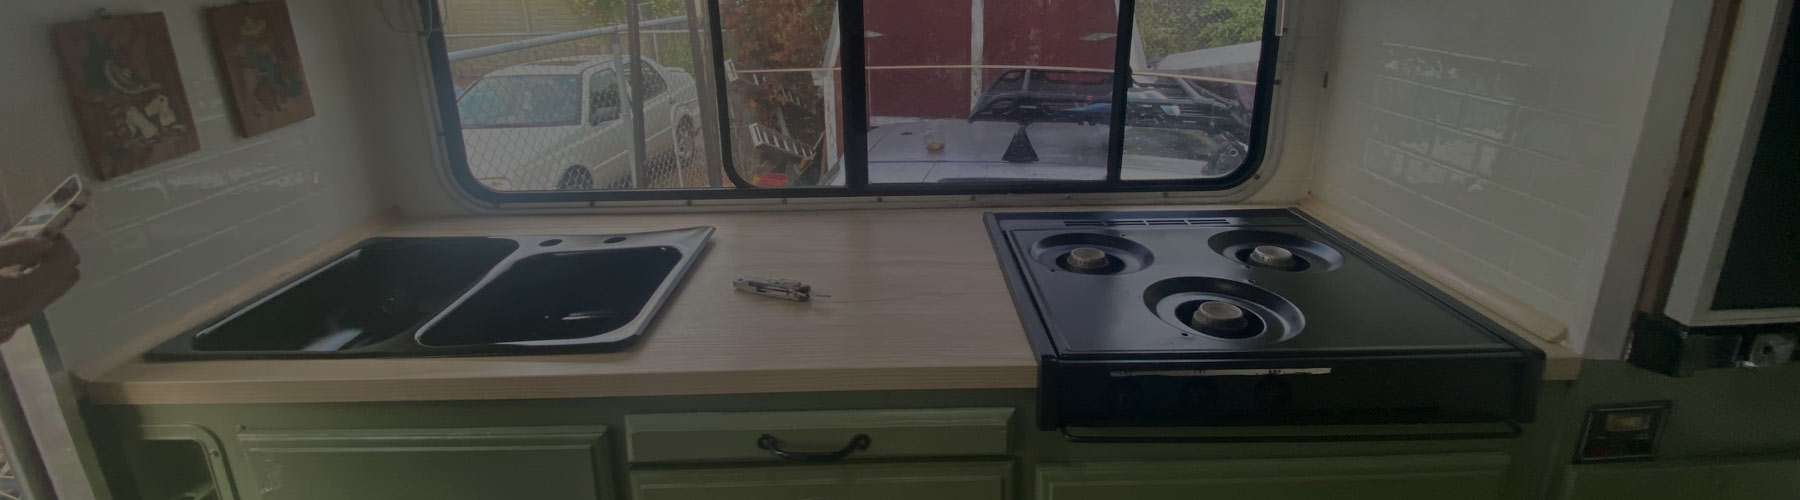
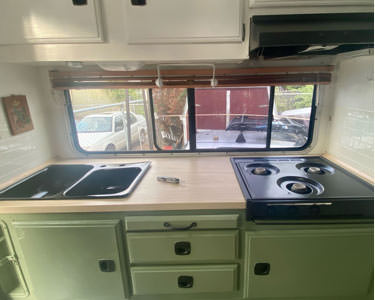
THE BEFORE
The countertops are dark, chipped and in need of a durable, long-lasting update.
When I initially got this camper, I did a “quick fix” and just painted the countertops with some black paint that I had left over. It was an ok update to get rid of the stained yellow original counters, but I knew that it would not last very long. So, here we are two years later, and I’m finally getting the counter that this camper deserves!
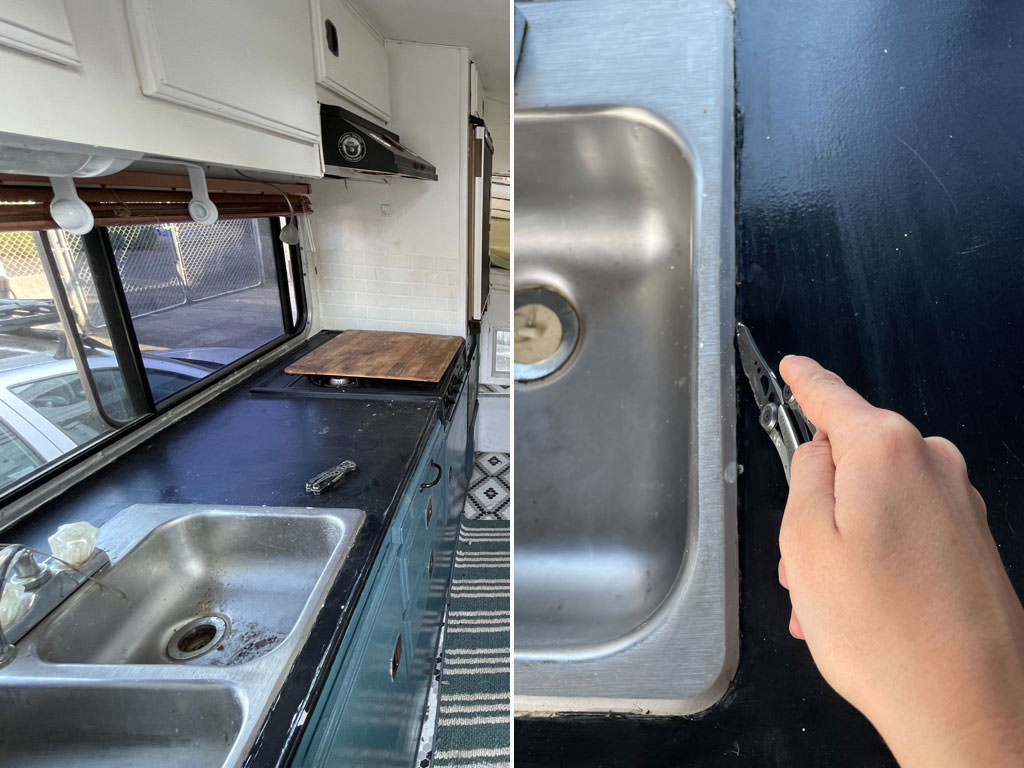
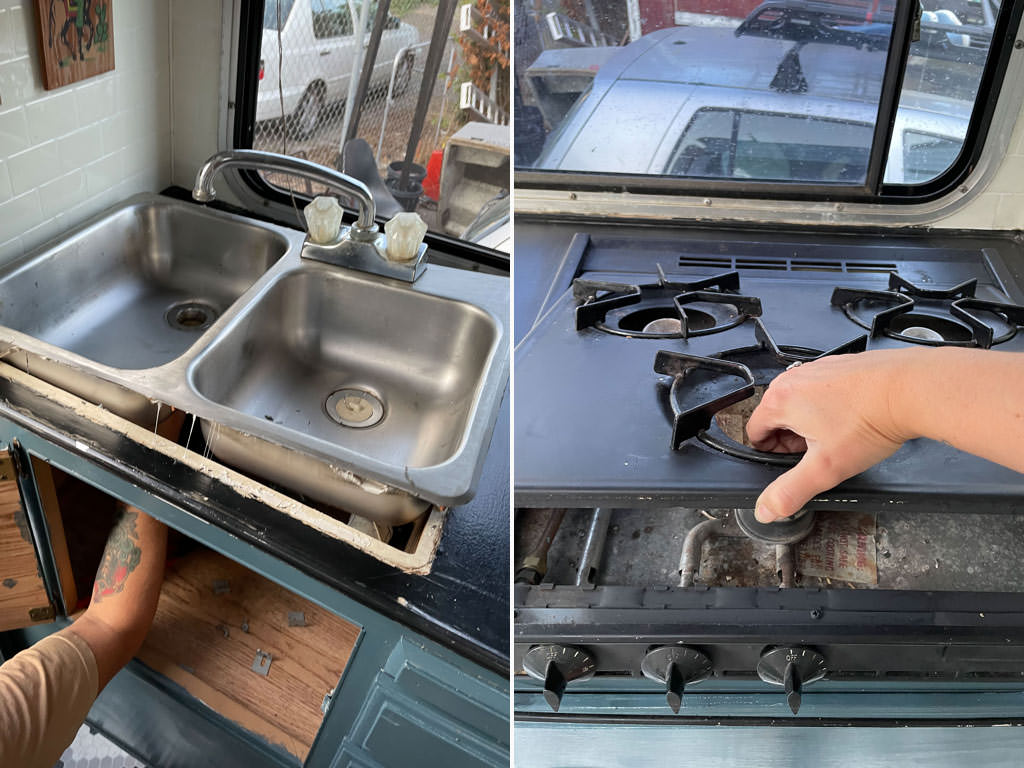
FOR THE SINK:
Turn off the camper power, and make sure there is no water in the pipes. Unscrew the plumbing from the sink drains and the two faucet fittings.
Then, there are 6 wing nut bolts that attach the sink to the counter. Using the pliers diagonally to the wing nut gives you good leverage to loosen the wing nuts to get them fully released.
With everything detached from underneath the sink, you can work on breaking the seal around the sink from the countertop. I just ran my knife to score the frame of the sink around the seam, and then I was able to lift from underneath the sink to remove it.
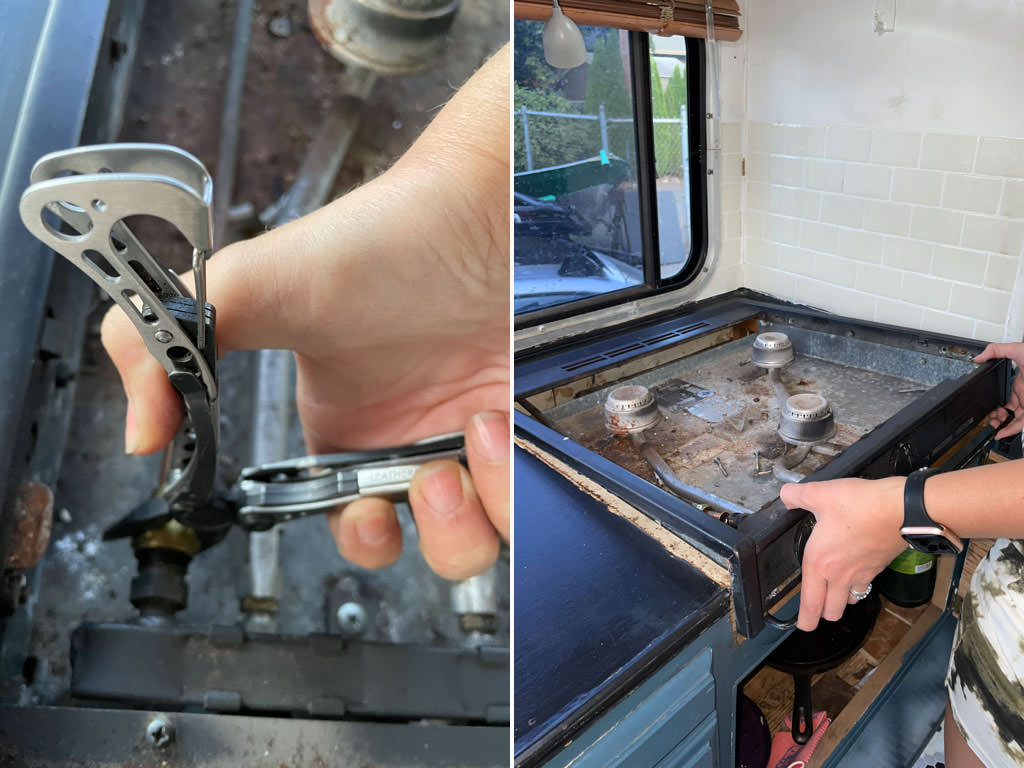
FOR THE STOVE:
Make sure the propane is disconnected, and there is no remaining gas in the pipe by turning the burners on and ensuring they won’t ignite. Then for my stove, you just lift up on the top plate and remove it. Along the side wall of the interior of the stove there is a screw at each corner to remove and it will be able to then lift and detach easily from the counter.
To remove the final screws that attach the countertop to the cabinets you can easily access them now that the sink and stove are removed.
After all the screws were removed, I used my knife to break the caulking along the sides of the counter from the wall. Then, with a good shimmy and some muscle I was able to lift the counter right up and remove it fully from the camper
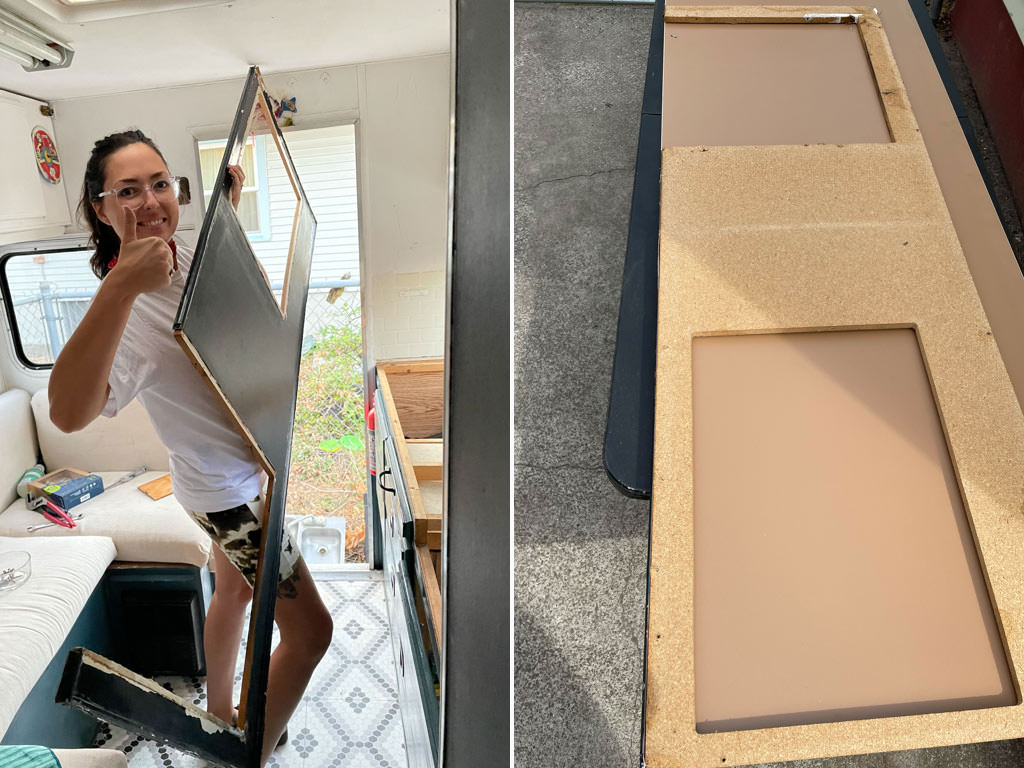
STEP 2: GET YOUR MATERIALS
I bought a Laminate counter from Ikea (this one is the EKBACKEN Countertop, ash effect/laminate 74x1 1/8”). It was the color and look that I wanted and was affordable, lightweight and low maintenance as opposed to real wood.
Tools Needed:
- Jig Saw with 10 TPI blade
- Circular saw
- Pliers
- Pencil
- Drill/Drill Bit that is bigger than your jigsaw blade
- Safety Glasses
- Clamps
- I used the Leatherman Rebar®
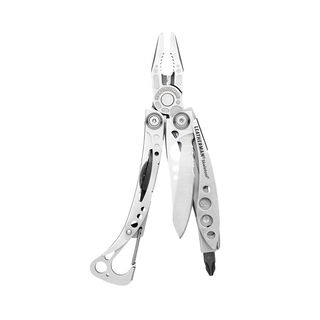
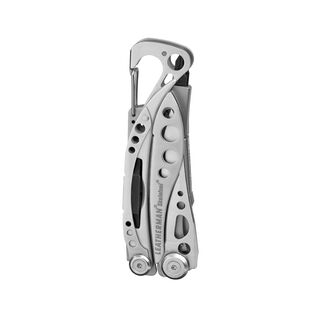
- Leatherman Skeletool® is another I used
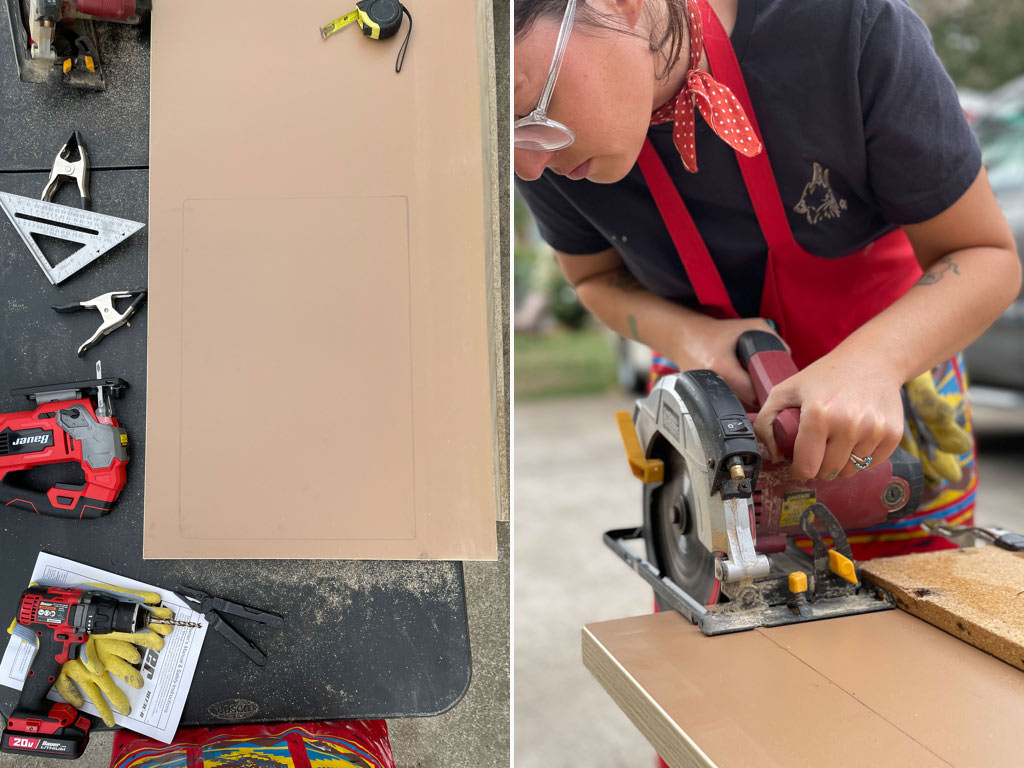
STEP 3: CUT YOUR NEW COUNTERTOP
I clamped the old countertop upside down onto the new counter (also upside down) to use it as a template and traced the outline with a pencil. I have them upside down so that when I make the cuts and flip the counter over, they will be in the correct placement of the sink and stove openings.
My counter had staples that were still along the backside of the it, so I removed those by pulling them out with my multi-tool pliers. Then, I was able to use the old counter as a straightedge to make my cut along the template I traced out.
The sink cutout was a rectangle, so to get that cutout I used the drill to make a hole at each corner big enough so the jigsaw blade would fit into it. Then, I just followed the template I traced onto the counter.
The stove cut out was a bit easier since I only needed to create two drilled holes at the two corners.
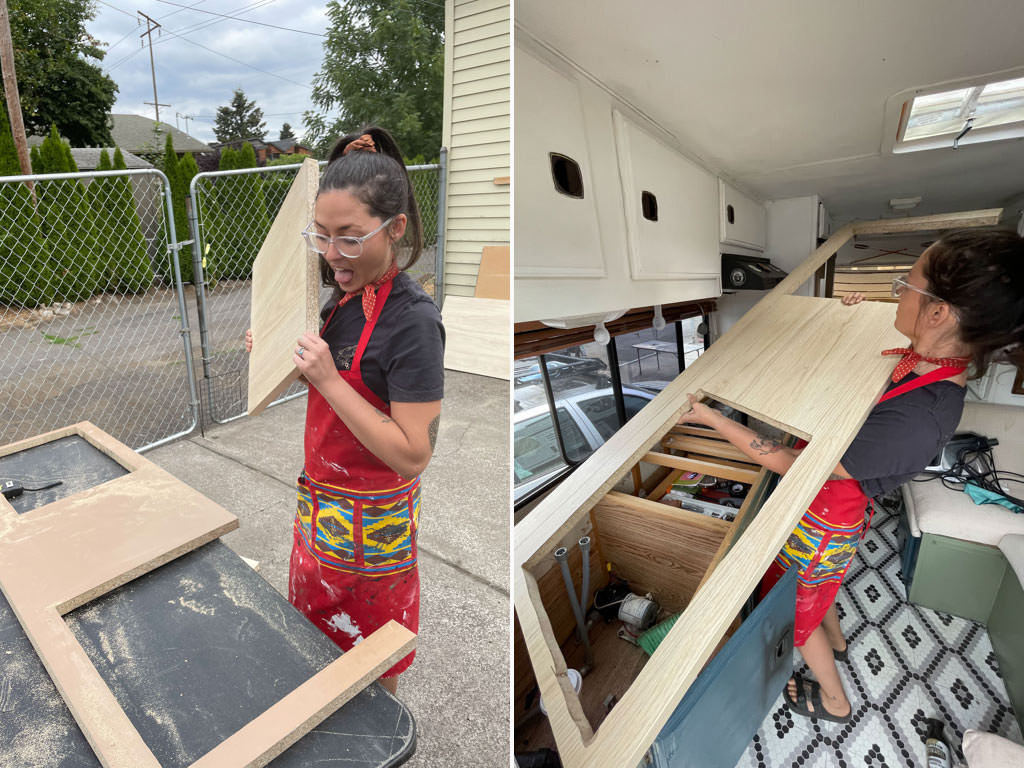
STEP 4: DRY FIT AND FINISH
Now, that the new counter was cut to the same size as the previous counter it was ready for the dry fit!
It fit like a glove luckily. The light wood color really warmed the camper up already!
I just have to put all the screws underneath back in place to attach the counter to the cabinets, and then install the sink and stove back in.
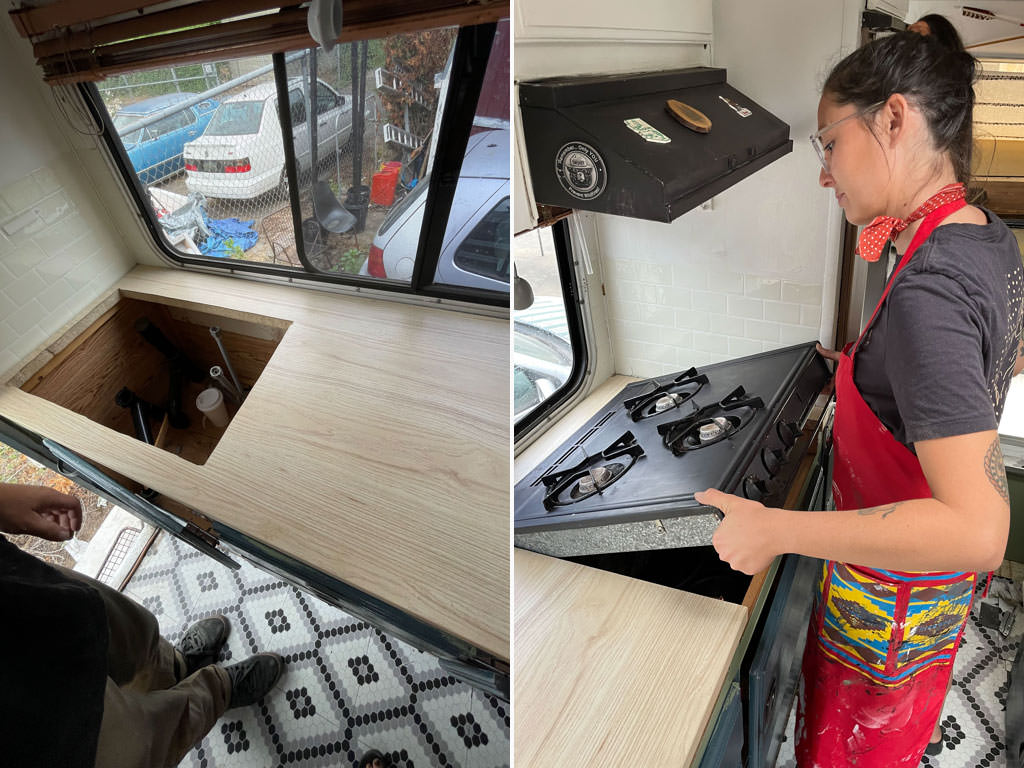
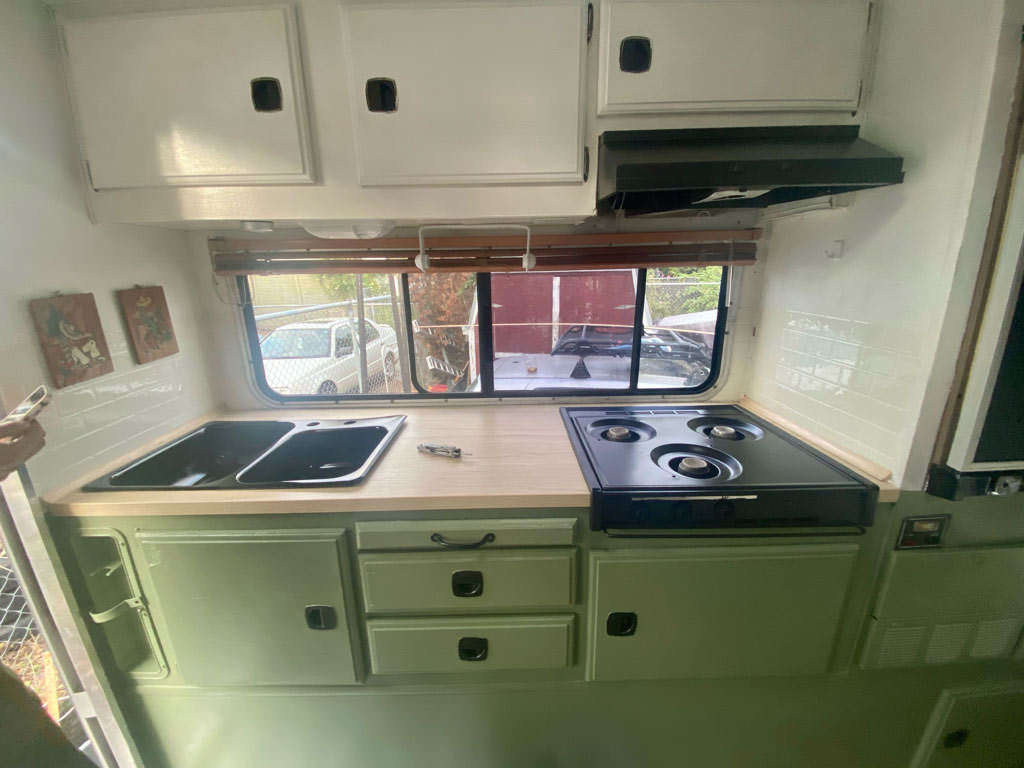
STEP 5: REVEAL AND REVEL
Extremely happy with the end results and getting rid of that dark gloomy old counter. For my first “counter DIY,” I am very pleased with the entire process and seeing it done is so rewarding!
PROJECT SUCCESS
Now that you know the basics of removing and replacing your camper countertops, we hope it will inspire you to beautify your own RV countertops just in time for summer camping.