A custom-made multi-tool is easy to make thanks to the new Leatherman Custom Shop.
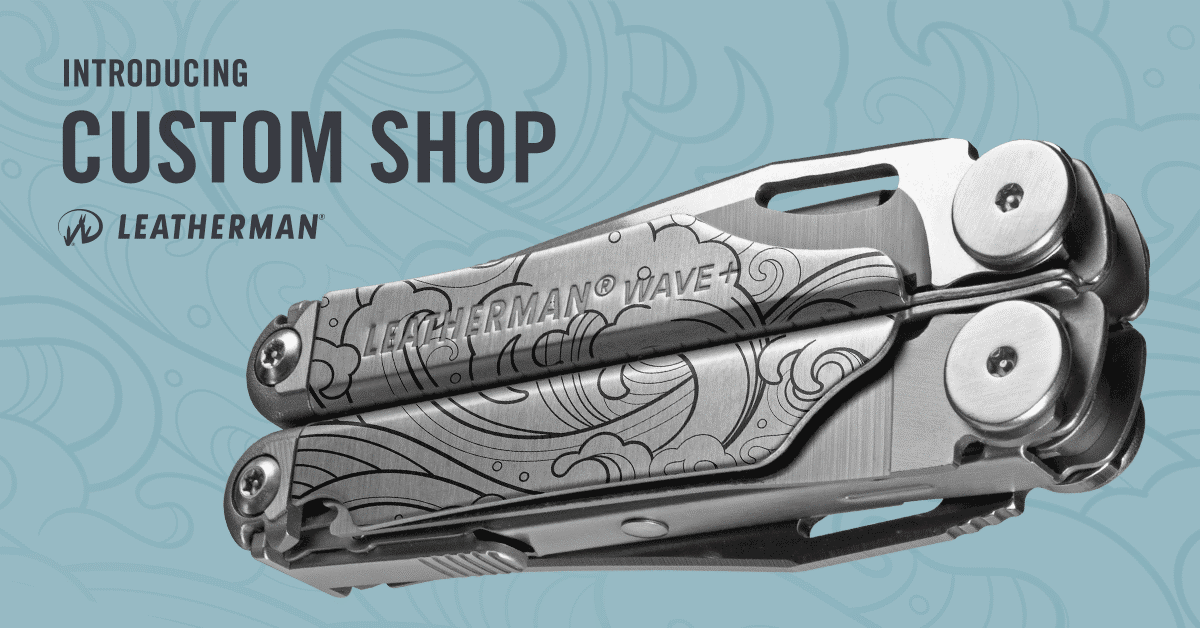
With an availability to add text, images, and eye-catching patterns, you can own a unique tool or grab a great gift for someone special. Want a little help with the process? Let this simple step-by-step guide for designing your own laser-engraved multi-tool lead the way.
Step 1: Open the Custom Shop
- Hop online and follow the link: Leatherman Custom Shop
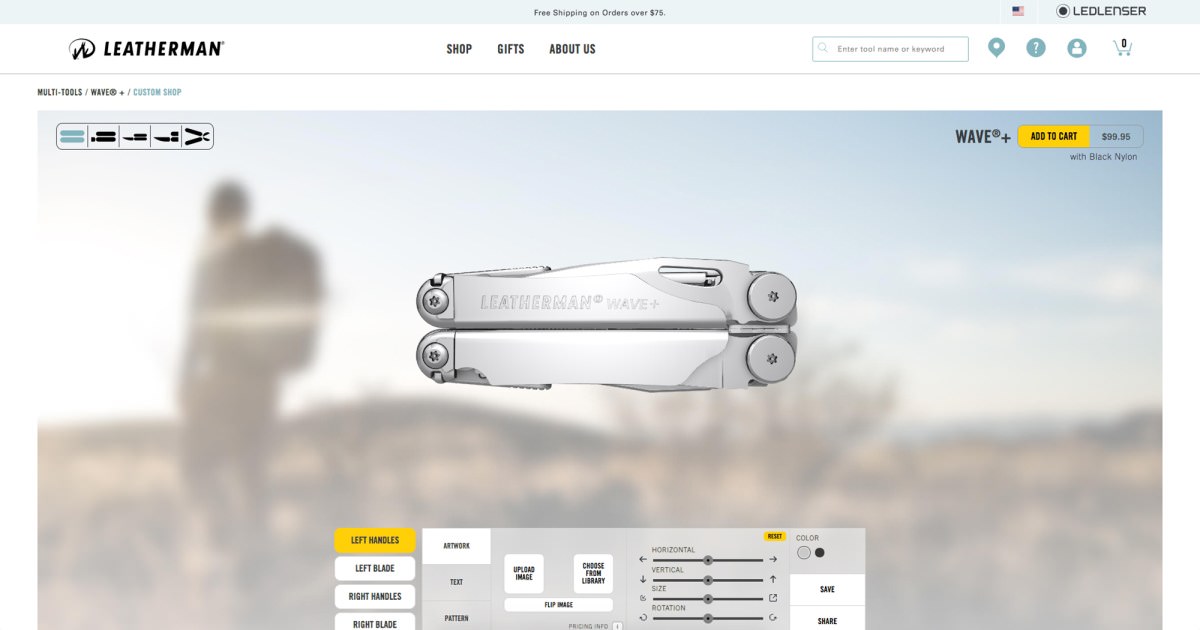
Custom Shop Homepage
Step 2: Choose Base Color
- On the upper right corner of the custom editor, choose between Stainless Steel or Black as a base color (you can change this at any time during the process)
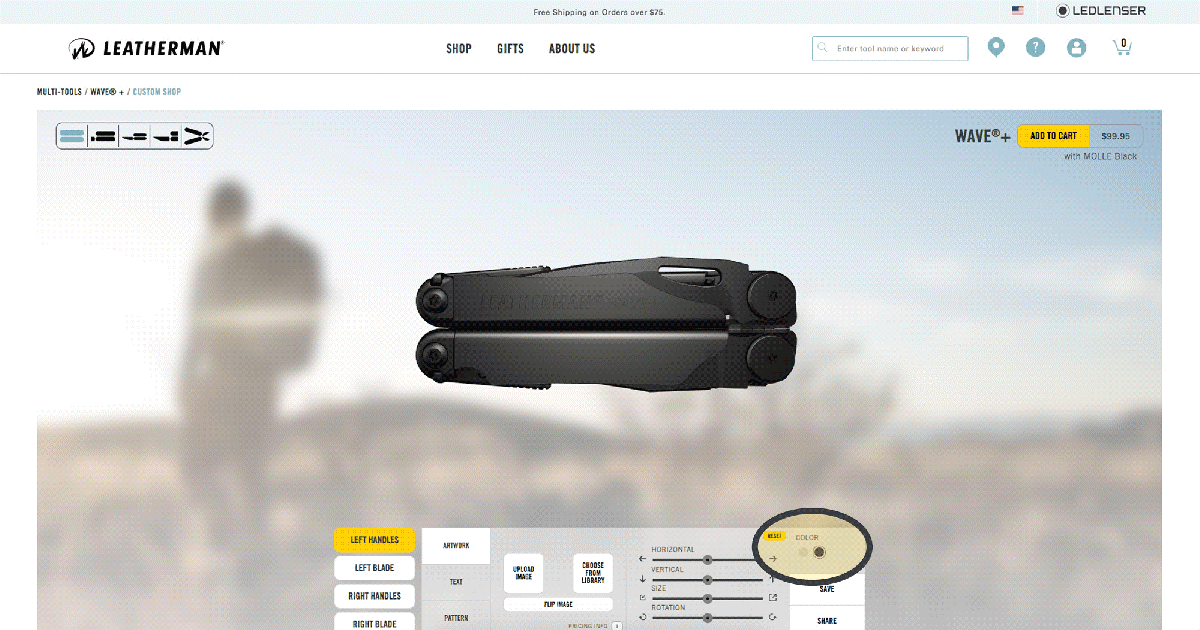
Choose Color: Silver or Black
Step 3: Choose Where and What You Want to Engrave
- Lining the left side of the custom editor, choose between the left or right side of the blade or handle to customize. Users can customize any or all sides of the blade and handle
- Users can toggle between views of the multi-tool by clicking the icons on the upper left corner of the Custom Shop window
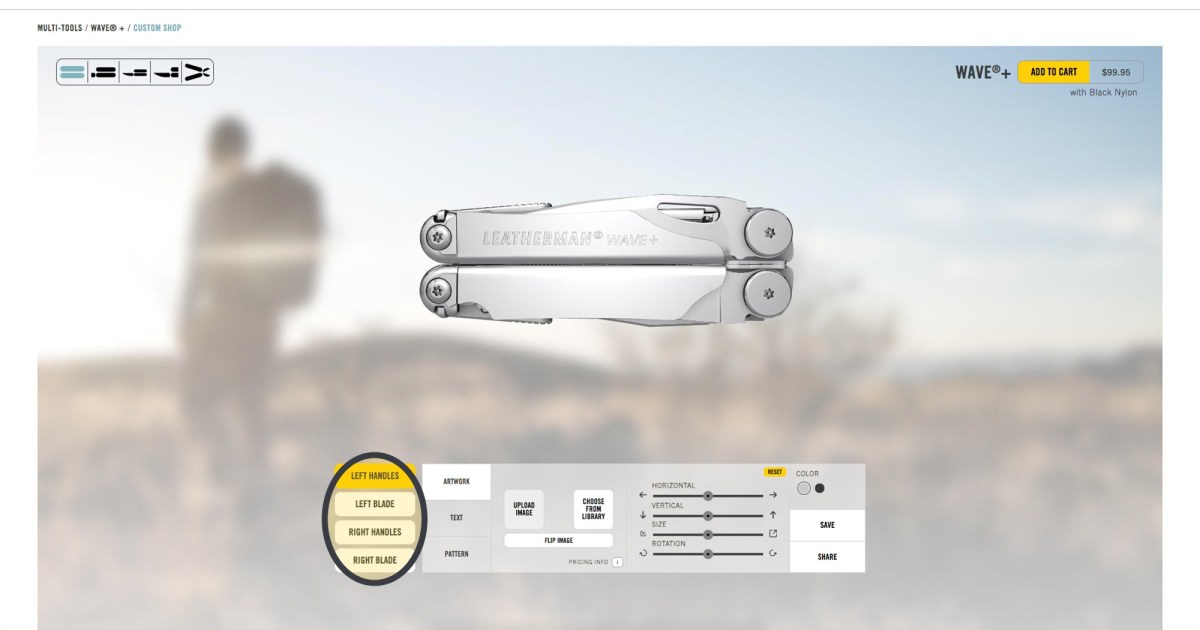
Locations which can be engraved: handles and blades
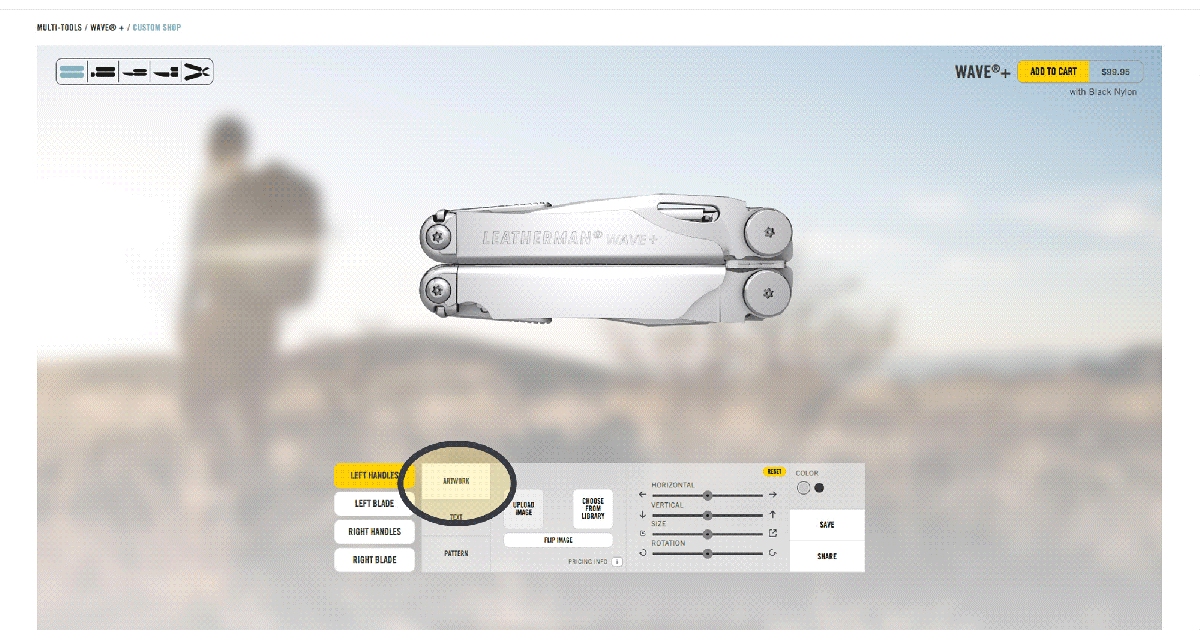
How to Add Artwork:
- To the right of the Blade and Handle icons in the custom editor, select the “Artwork" tab to add custom artwork or images from the Leatherman catalog
- To add custom artwork
- Select “Upload Image" from the custom editor
- Accept and adhere to Upload Guidelines
- Select “Upload" and choose image from hard drive
Uploading custom artwork
- To add from Leatherman’s catalog of images,
- Select “Choose from Library" on the custom editor
- Select between “animals", “nature", “activities", “symbols", or “vehicles" categories
- use your mouse to scroll left and right to see all the available artwork
- Choose an image

Choosing an image from the Leatherman library
- Adjust size, location, and orientation of artwork
- Use the sliding cursors on the right side of the custom editor to adjust the size, orientation, and positioning of the artwork. Note the changes in the generated preview as you adjust each cursor
- To flip the image, select “Flip Image" near the bottom of the custom editor
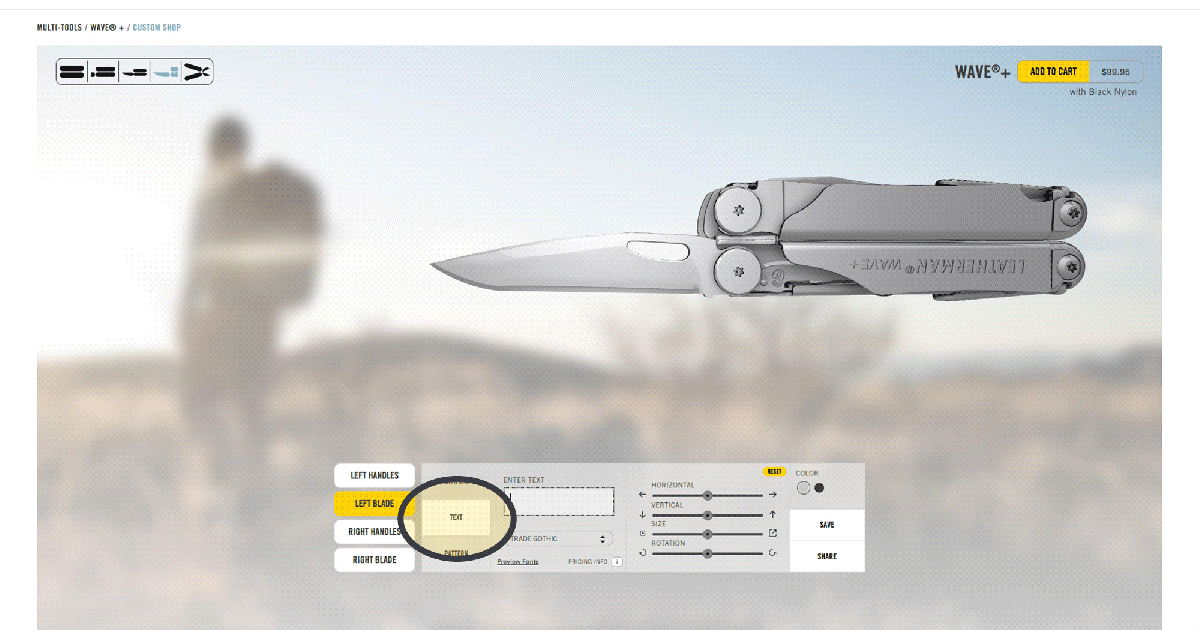
How to Add Text:
- To the right of the Blade and Handle icons in the custom editor, select the “Text" tab to add custom text to the multi-tool
- Type in the text you’d like to see in the open dialogue box
- Choose the font you’d like with the dropdown menu beneath the dialogue box
- Adjust size, location, and orientation of text
- Use the sliding cursors on the right side of the custom editor to adjust the size, orientation, and positioning of the text. Note the changes in the generated preview as you adjust each cursor
Adding custom text
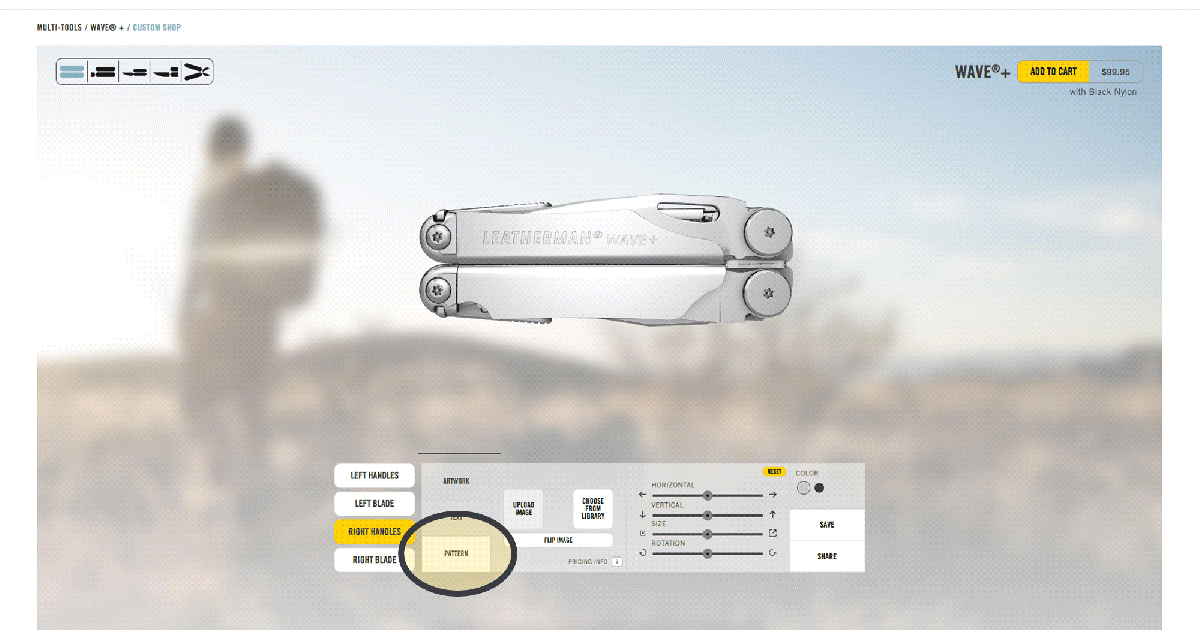
How to Add Patterns:
- To the right of the Blade and Handle icons, select the “Patterns" tab to add a pattern to the multi-tool
- Select “Choose from Library"
- Use your mouse to scroll left and right to see all the patterns available
- Choose a pattern
- Adjust size, location, and orientation of pattern
- Use the sliding cursors on the right side of the custom editor to adjust the size, orientation, and positioning of the pattern. Note the changes in the generated preview as you adjust each cursor
- To flip the pattern, select “Flip Image" near the bottom of the custom editor
Adding patterns
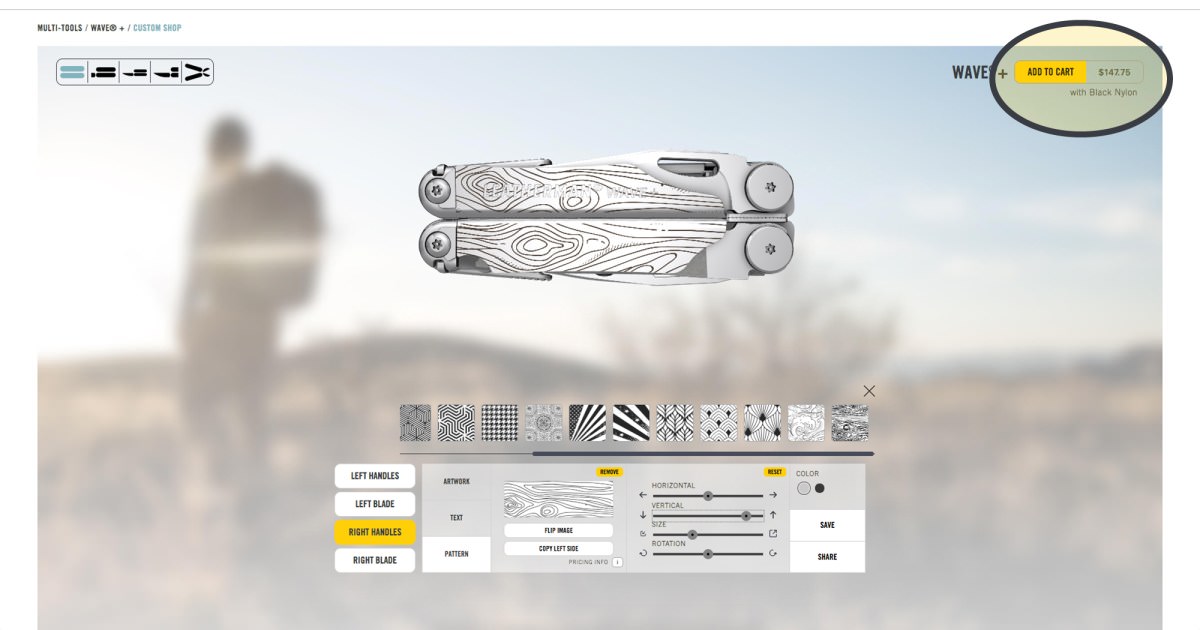
Track Your Pricing
- In the upper right corner of the Custom Shop window, next to the “Add to Cart" button, the price of your custom multi-tool automatically updates with each customization made.
- A breakdown of pricing for each customization:
-
- $7.95-Text Only
- $14.95—Catalog Images
- $16.95 Upload Personal Design
- $16.95 Patterns
Tracking the price
How to Remove Artwork, Text or Patterns
- Navigate to the customization you’d like to remove (e.g. “Left Handle" → “Pattern")
- At the top center of the custom editor, select the yellow “remove" button
- If you want to undo the adjustments you’ve applied to a design, select the yellow “reset" button on the upper right corner of the custom editor
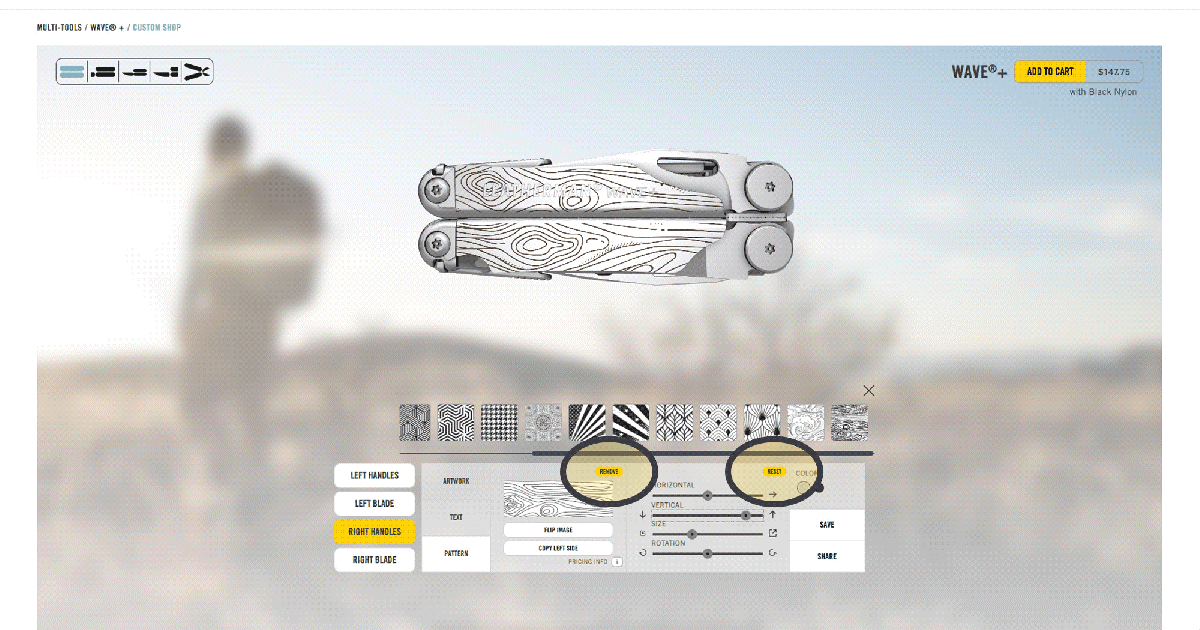
Removing patterns or adjustments
Step 4: Save Your Design
- Optional: To save a design to a Leatherman account, select “Save" on the bottom right corner of the custom editor
- Users will need to create a Leatherman account to save designs, email address required
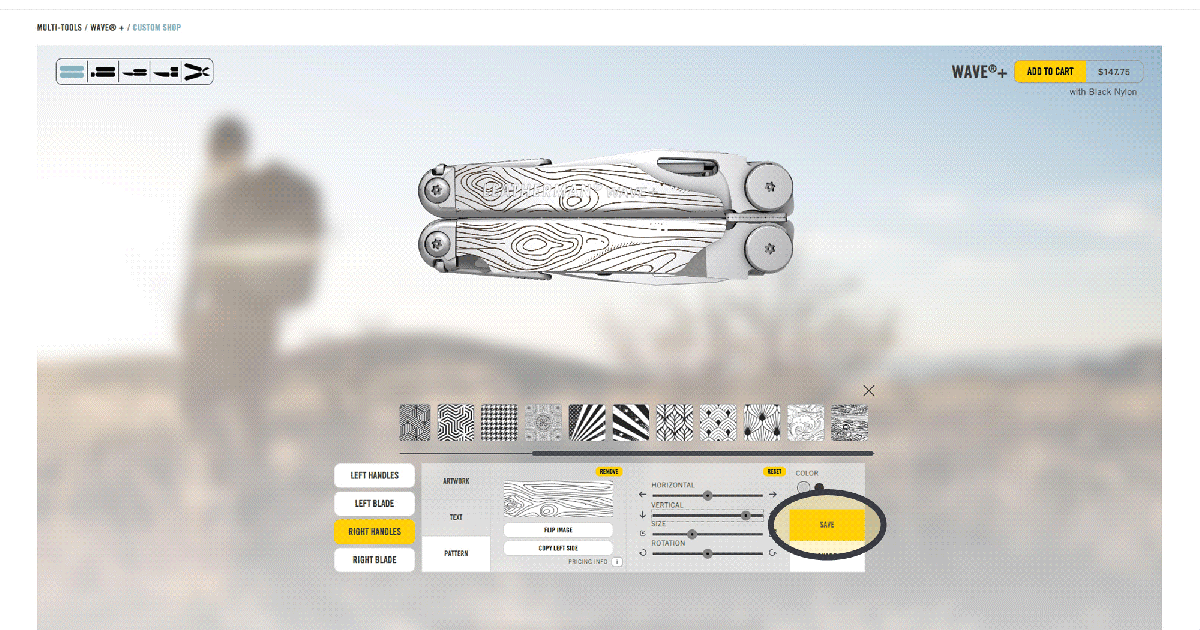
Saving your design
Step 5: Share Your Design
- Optional: To share a design via email, social media, or shareable link, select “Share" on the bottom right corner of the custom editor
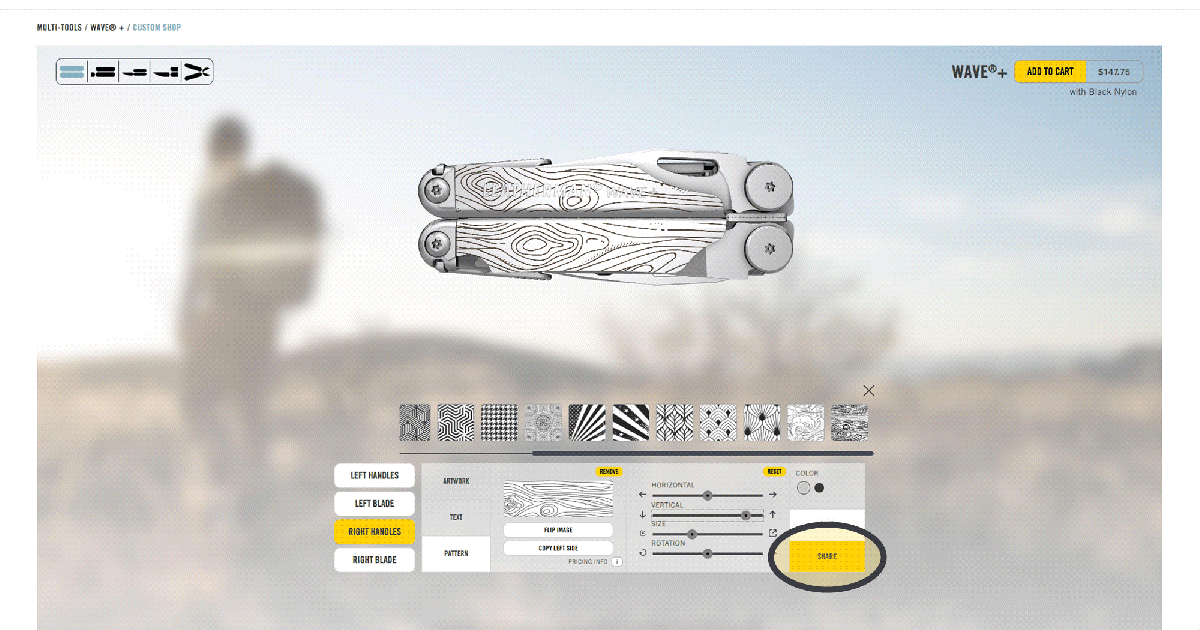
Sharing your design
Step 6: Review and Purchase Custom Multi-Tool / Add to Cart
- Once the design is complete, select “Add to Cart" on the upper right corner of the custom editor
- Review design and order information thoroughly, check the box stating you have reviewed the design of your new multi-tool
- Select the highlighted “Add to Cart" icon
- Proceed to checkout or continue shopping
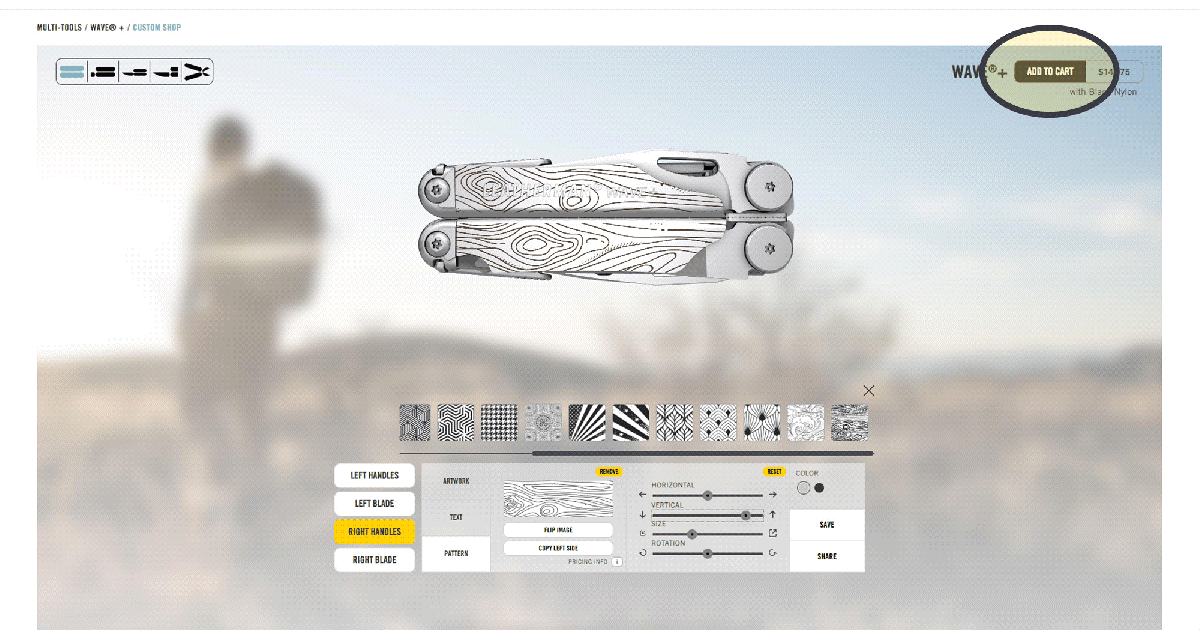
Adding customizations to your cart
Step 7: Sit Back and Relax
Don’t worry, we got it from here. After completing the online checkout and placing an order, the multi-tool makes its way through our assembly line and laser engraving process before arriving at the address you provided in 1-2 weeks.